Nothing is more frustrating than a printer paper jam no paper inside error. You open every door, pull out the tray, shine a flashlight into the works, and there is clearly no crumpled sheet blocking anything — yet the display stubbornly insists a jam exists. You are not imagining things, and your printer is not broken beyond repair. Search any support forum and you will find thousands of owners describing the same printer paper jam no paper inside problem. This “phantom jam” is one of the most common printer complaints, and it almost always comes down to a sensor misreading, a tiny hidden scrap, or a roller that needs cleaning.
In this guide, you will learn exactly why your printer reports a paper jam when no paper is inside, and you will get seven practical fixes that clear the error on HP, Canon, Epson, and Brother printers alike. Work through them in order — most people resolve the problem by fix three or four, without ever needing a repair shop.
- Why You Get a Printer Paper Jam Message With No Paper Inside
- Fix 1: Power-Cycle the Printer to Clear a Stuck Sensor
- Fix 2: Check Hidden Paper Paths and Rear Doors
- Fix 3: Remove Tiny Scraps and Dust From the Paper Path
- Fix 4: Clean the Paper Feed Rollers
- Fix 5: Reset the Paper Sensor Flags
- Fix 6: Update or Reinstall the Printer Firmware
- Fix 7: Perform a Factory Reset
- How to Prevent Phantom Paper Jams
- Frequently Asked Questions
Printer Paper Jam No Paper Inside: Why This Error Happens
A printer paper jam with no paper inside sounds impossible, but it makes perfect sense once you understand how printers detect jams. Your printer does not have a camera watching the paper path. Instead, it relies on small optical or mechanical sensors placed at intervals along the paper route.
When a sheet feeds through, these sensors flip on and off in a precise sequence. If a sensor stays covered too long, stays uncovered at the wrong moment, or flickers, the printer’s firmware interprets that as a jam. It cannot tell the difference between a real crumpled page and a sensor that is simply confused.
The most common triggers for this false reading are: a paper sensor flag that got bent or stuck during the last real jam, a scrap of paper the size of a fingernail lodged out of sight, dust or ink buildup on an optical sensor, a roller too smooth to grip paper properly, or corrupted firmware that misreads sensor signals. The good news is that every one of these has a home fix.
Fix 1: Power-Cycle the Printer to Clear a Stuck Sensor
Before you touch anything, try a full power cycle. This is not the same as pressing the power button — a proper power cycle drains residual charge from the printer’s logic board, which forces every sensor to re-initialize when the printer starts up again.
Turn the printer on if it is off, then disconnect the power cable from the back of the printer while it is still running. Unplug the cable from the wall outlet too. Wait a full 60 seconds. During this time, the capacitors discharge completely, and any “stuck” sensor state gets wiped.
Reconnect the cable directly to a wall outlet — skip surge protectors and power strips for this test, since some strips deliver marginal power that can cause sensor glitches. Let the printer complete its full startup sequence without pressing any buttons. In many cases, the printer paper jam no paper inside message disappears right here. If it does, print a test page before putting everything back in place.
Fix 2: Check Hidden Paper Paths and Rear Doors
The paper path inside your printer is longer than it looks. Most printers have a rear access door, a duplex (two-sided printing) unit, and gaps behind the paper tray that are easy to overlook. A “no paper inside” inspection that only looks at the main tray is incomplete.
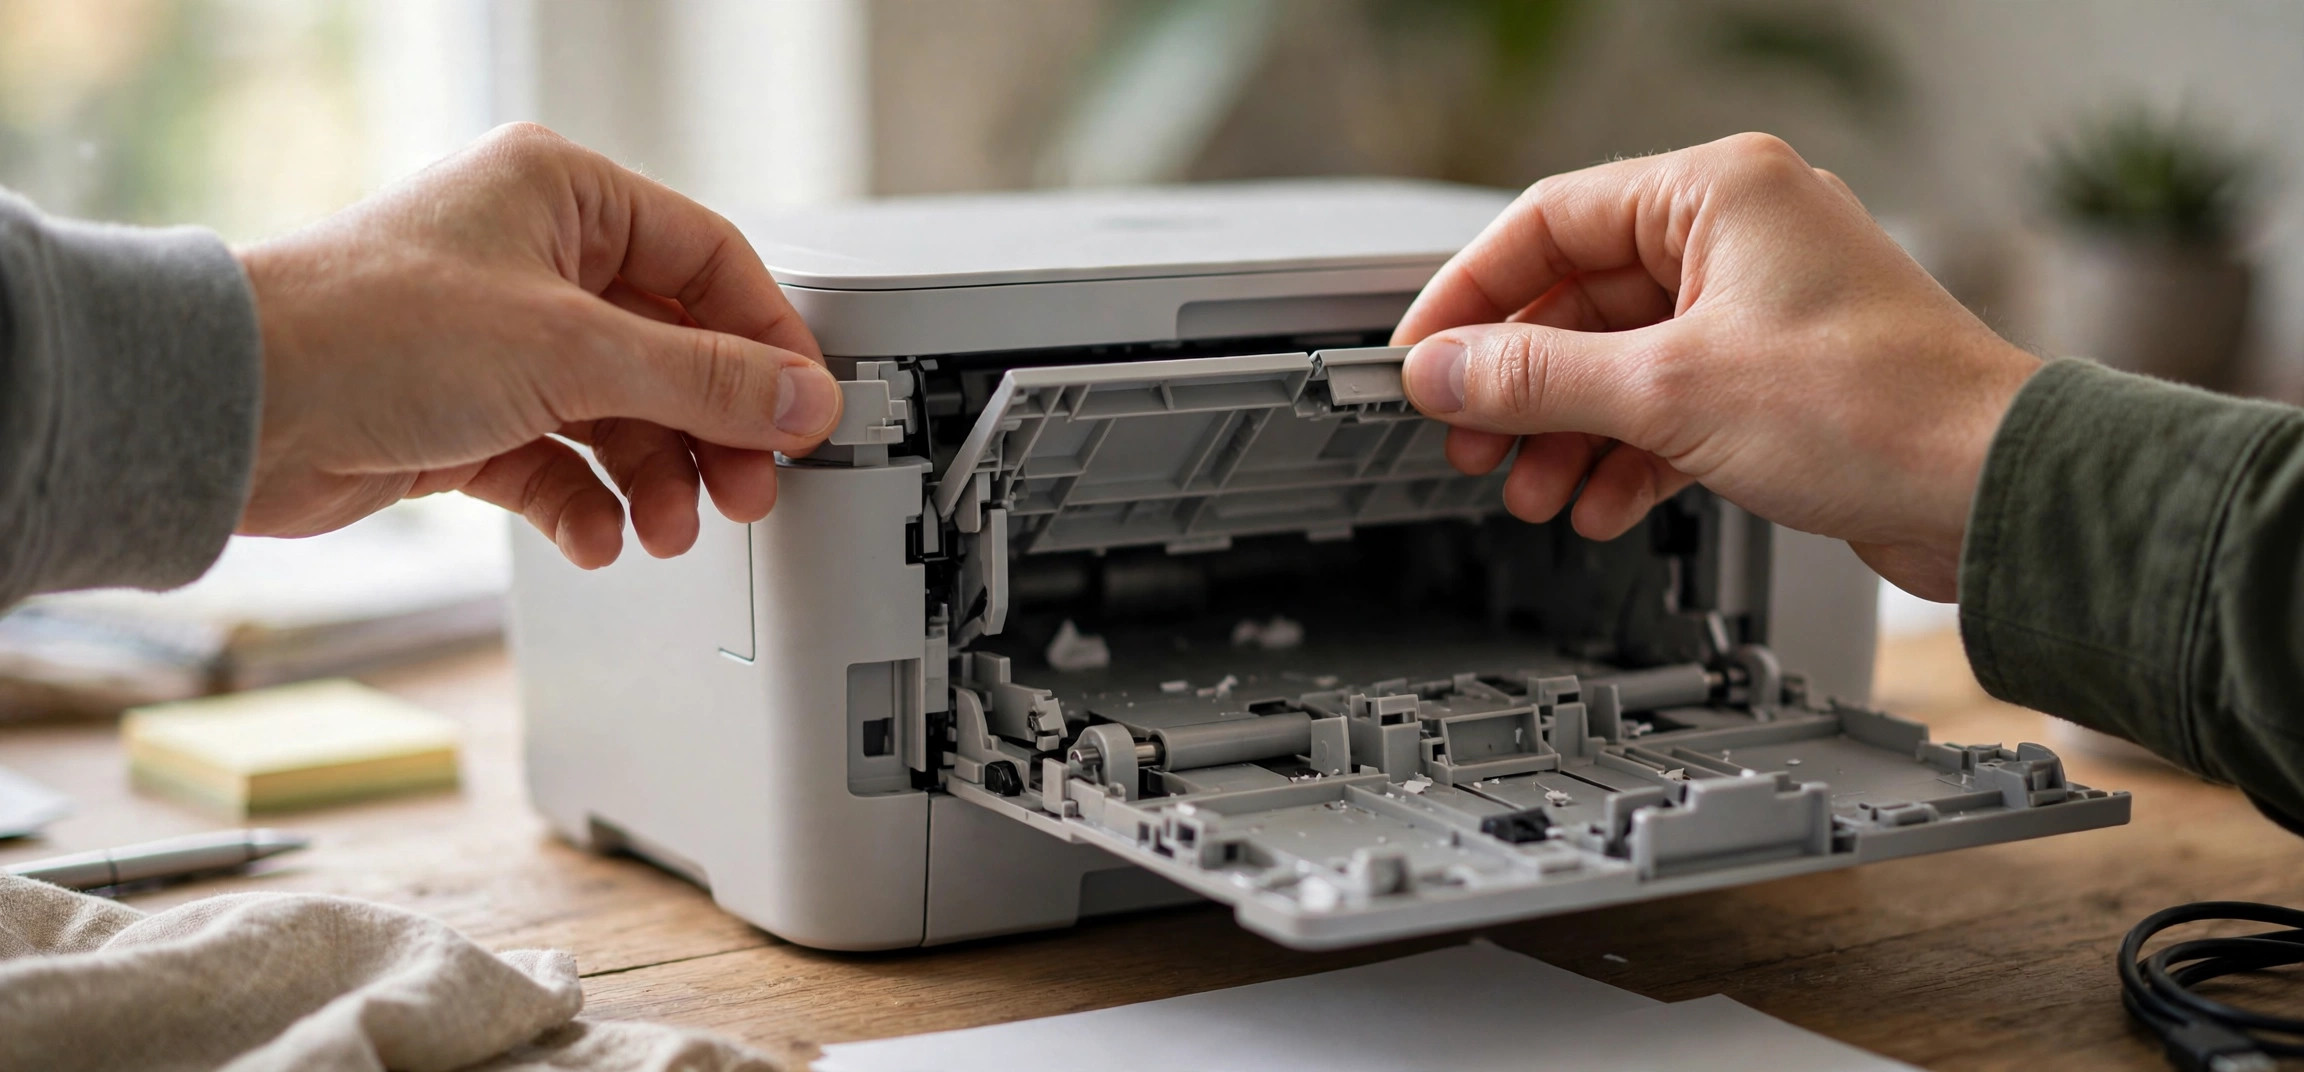
Start by removing the paper tray completely and looking into the cavity underneath with a flashlight. Then open the rear access door — on many HP and Canon models it swings down or unclips. Check the duplexer area, where paper flips for double-sided printing; scraps love to hide there because the path is narrow and hard to see.
Next, lift the scanner bed or top cover and look at the area around the ink cartridges or toner. On laser printers, remove the toner cartridge and inspect the cavity behind it. Paper dust and tiny torn corners accumulate in these recesses. If you find anything, pull it out gently in the direction of the normal paper path — never yank against the feed direction, which can bend a sensor flag.
Fix 3: Remove Tiny Scraps and Dust From the Paper Path
Here is a truth about phantom jams: a scrap of paper just a few millimeters wide can trigger the printer paper jam no paper inside error. During a previous real jam, a torn corner can break off and lodge near a sensor where you cannot see it without looking closely.
Shine a flashlight at a low angle across every part of the paper path you can reach. The raking light reveals small scraps and dust buildup that overhead lighting misses. Pay special attention to the areas near the sensors themselves — tiny dark plastic levers or optical “eyes” positioned along the path.
Use compressed air to blow out loose dust and paper fibers, but hold the can upright and keep the nozzle at least a few inches away. Short bursts work better than one long blast, which can push debris deeper into the machine. Never use a vacuum cleaner nozzle inside the printer; the static discharge can damage electronic components. For stubborn bits of paper you can see but not reach, a pair of tweezers works — just be gentle around the sensor flags, which are small plastic levers that pivot easily.
Fix 4: Clean the Paper Feed Rollers
Paper feed rollers are coated in rubber that grips each sheet and pulls it through. Over time, paper dust coats the rollers, making them smooth and slippery. When a roller slips, the paper moves slower than the firmware expects, the sensor timing goes wrong, and you get a jam error — sometimes with the page barely entering the machine at all.
Locate the main pickup rollers — they are usually visible once you remove the paper tray, sitting above where the paper stack rests. Dampen a lint-free cloth with distilled water (tap water can leave mineral residue) and wipe each roller while rotating it with your other hand. You want to clean the full circumference, not just the visible face.
For heavy buildup, a small amount of isopropyl alcohol on the cloth works well and evaporates cleanly. Let the rollers dry for a few minutes before loading paper again. As a bonus, this same maintenance fixes printers that grab multiple sheets at once or feed paper crookedly — a win if you have also been fighting a printer that prints blank pages despite having ink, since general neglect tends to cause multiple symptoms at once.
Fix 5: Reset the Paper Sensor Flags
Many printers use tiny plastic levers called sensor flags that the paper pushes as it passes. When the last real jam was cleared, it is easy to bend one of these flags or leave it stuck in the “paper present” position. The printer then believes paper is in the path permanently.
With the printer unplugged, open every access door and gently locate the sensor flags along the paper path. They are small, thin plastic arms, usually black, that should pivot freely with light finger pressure. Each one should swing and spring back to its resting position smoothly.
If a flag is stuck, nudge it free with a fingertip or a cotton swab — never with a sharp tool. If a flag is bent, you can sometimes coax it back into shape, but be honest with yourself: a flag that has been creased is likely to fail again. Replacement sensor flags are cheap, and this fix resolves a large share of persistent printer paper jam no paper inside cases that survive cleaning.
Fix 6: Update or Reinstall the Printer Firmware
Sometimes the hardware is fine and the software is the liar. Printer firmware controls how sensor readings are interpreted, and corrupted or outdated firmware can generate phantom jam errors even when every sensor reports correctly.
Visit your printer manufacturer’s official support site — HP, Canon, Epson, and Brother all publish firmware updates for free — and check whether a newer firmware version exists for your exact model. Download it only from the manufacturer’s site, never from a third-party driver aggregator. Install the update with the printer connected via USB if possible, since a dropped Wi-Fi connection mid-update can brick the machine.
If your firmware is already current and the error persists, a reinstall of the same firmware can overwrite corrupted settings. On some models you can also reset the internal error log through the printer’s service menu, which stops the machine from “remembering” a jam that no longer exists. Check your manual for the button combination that opens the service menu, since it varies by model.
Fix 7: Perform a Factory Reset
When nothing else works, a factory reset returns the printer to the state it was in when it left the factory. This wipes every stored setting — network configuration, paper size defaults, and any corrupted error states — so use it as a last resort.
The reset procedure varies widely. Many printers offer a “Restore Factory Defaults” option in the Setup or Tools menu on the control panel. Others require holding a specific button combination while powering on. Your printer’s manual (or the manufacturer’s support page) will have the exact steps for your model.
After the reset, you will need to reconnect the printer to your Wi-Fi network and reinstall it on your computer. That is mildly annoying, but if a printer paper jam no paper inside error was caused by corrupted non-volatile memory, this is the fix that finally clears it. If even a factory reset does not help, the problem is almost certainly a failed sensor or a damaged logic board — at that point, a repair estimate will tell you whether the printer is worth saving.
How to Prevent the Printer Paper Jam No Paper Inside Error
Once your printer is working again, a few habits will keep phantom jams from coming back. First, fan your paper stack before loading it — this separates the sheets and knocks loose the dust that coats rollers and sensors. Store paper in a dry place, since damp paper curls and feeds unevenly.
Second, do not overfill the tray. Every printer has a maximum fill line, and exceeding it puts pressure on the pickup rollers, causing misfeeds that trigger jam errors. Third, use the paper guides. Sliding the side guides snugly against the stack keeps sheets feeding straight, which keeps sensor timing correct.
Finally, run the printer’s built-in cleaning cycle every few months, especially if the machine sits unused for long stretches. A printer that sits idle collects dust on its sensors and rollers, and the first print job after a long break is the classic setup for a phantom jam. Regular light maintenance beats emergency troubleshooting every time.
Frequently Asked Questions
Why does my printer say paper jam when there is no paper?
The most common reason for a printer paper jam no paper inside alert is a stuck or dirty paper sensor. Your printer detects jams through small sensors along the paper path, not by seeing the paper directly. If a sensor flag is bent, dusty, or blocked by a tiny scrap from a previous jam, the printer reports a jam even though the path looks clear.
Can a tiny piece of paper cause a paper jam error?
Yes — and it is one of the leading causes of phantom jam messages. A scrap just a few millimeters wide, lodged near a sensor or inside the rear duplexer, is enough to trip the sensor. This is why a flashlight inspection at a low angle, plus short bursts of compressed air, is worth doing before assuming the printer is broken.
How do I reset my printer after a paper jam?
Unplug the power cable from the back of the printer while it is on, wait 60 seconds, then plug it directly into a wall outlet and let it start up. This full power cycle clears stuck sensor states and is different from simply pressing the power button, which often preserves the error in memory.
Where is the paper jam sensor located?
Sensor locations vary by model, but they are typically found at the paper tray exit, along the internal paper path, and near the output area. Look for small black plastic levers (sensor flags) or tiny optical “eyes” in the paper route. Your printer’s service manual, available on the manufacturer’s support site, will show exact positions.
My printer keeps saying paper jam after I cleared it. What now?
Work through the deeper fixes: clean the feed rollers with a damp lint-free cloth, check the sensor flags for bending, and update the firmware. If the error survives a factory reset, you are likely looking at a failed sensor, and a repair shop estimate will tell you whether fixing it beats replacing the printer.
Does the type of paper cause false jam errors?
It can. Damp, curled, or overly thick paper feeds unevenly and can trigger sensor timing errors that read as jams. Always use paper within your printer’s supported weight range, store it somewhere dry, and fan the stack before loading. Cheap ultra-thin paper is a frequent culprit for misfeeds.
A printer paper jam no paper inside error feels like the machine is gaslighting you, but it is really just a sensor crying wolf. Start with the power cycle, inspect the hidden paper paths, clean the rollers, and check the sensor flags — that sequence clears the error for the vast majority of printers. And if you want to give your printer a proper tune-up while you are at it, learn how to clean printer heads without a computer so the print quality matches the newly reliable paper feed.