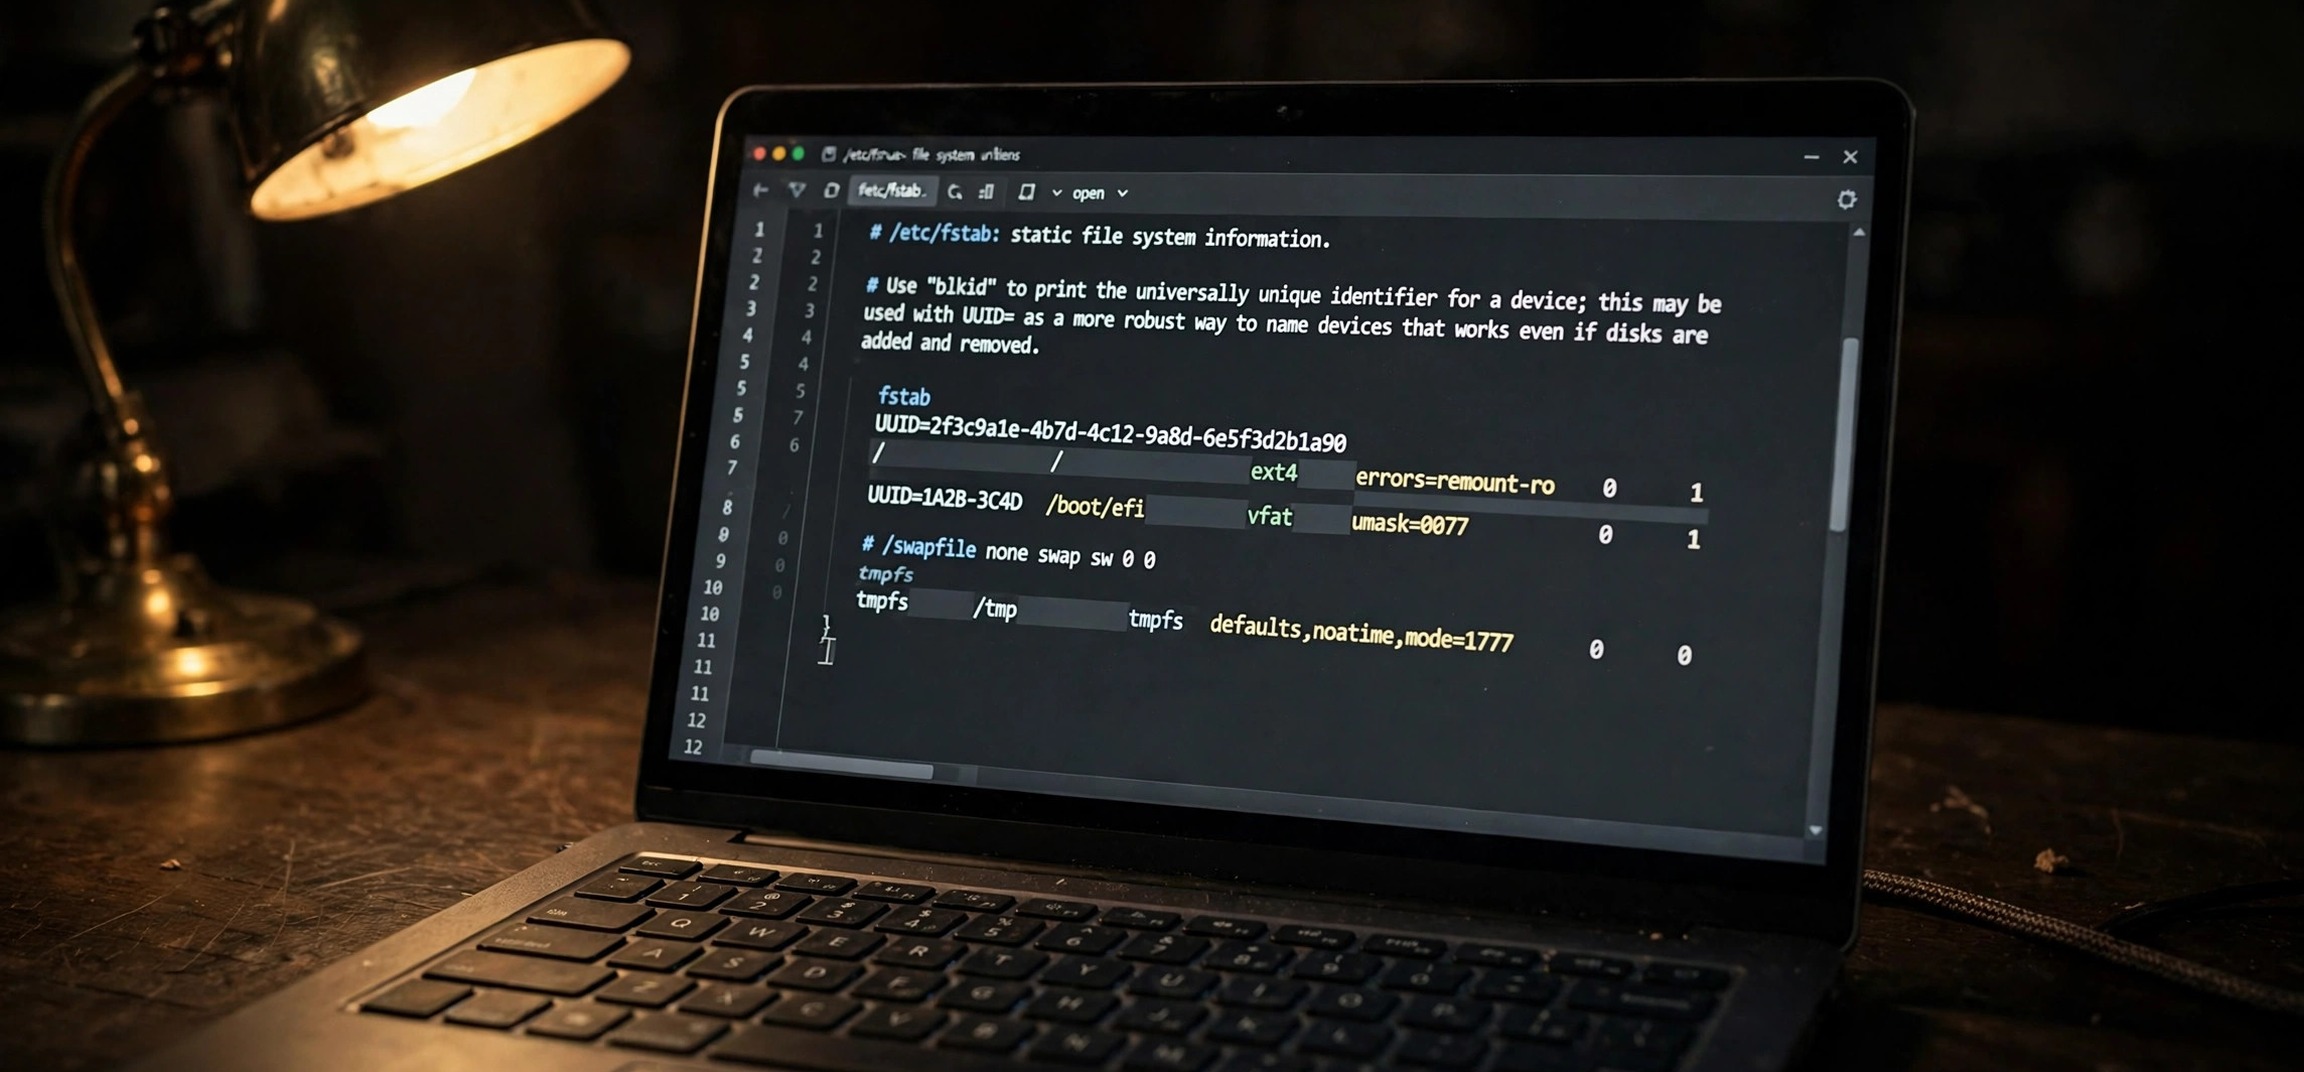
Want to block distracting websites across your entire PC — every browser, every app, no extensions to disable, no subscriptions? The hosts file method does exactly that. Learning how to block websites using hosts file windows 11 gives you a free, built-in, system-wide blocklist that works in Chrome, Edge, Firefox, and even apps that phone home to blocked domains. It takes five minutes, requires no software, and is completely reversible. Here is the full step-by-step guide, plus how to test, troubleshoot, and undo your blocks.
- How the Hosts File Blocks Websites
- Step 1: Open Notepad as Administrator
- Step 2: Open the Hosts File
- Step 3: Add Your Block Entries
- Step 4: Save and Flush the DNS Cache
- Step 5: Test the Block
- How to Undo a Block
- Limitations You Should Know
- Frequently Asked Questions
How the Hosts File Blocks Websites
Every time your PC visits a website, it first translates the domain name (like example.com) into an IP address using DNS. Before checking with a DNS server, Windows consults the hosts file — a local text file that maps domain names to IP addresses manually. Entries in the hosts file override DNS for those domains.
The blocking trick is simple: map the unwanted domain to 127.0.0.1, which is your own computer’s loopback address. When any program tries to reach the blocked site, Windows sends the request to your own PC instead — where nothing is listening — so the connection fails instantly. The site becomes unreachable in every browser and every application, system-wide, with zero running software.
This is the same mechanism IT administrators and parental-control tools have used for decades. It is primitive, transparent, and — within its limits — extremely reliable.
Step 1: Open Notepad as Administrator
The hosts file lives in a protected system folder, so a normally-opened Notepad cannot save changes to it. Click Start, type Notepad, right-click it in the results, and choose Run as administrator. Click Yes on the User Account Control prompt.
This elevation step is the one people forget most often. If you open the file in a non-admin Notepad, you can edit to your heart’s content — and then Windows will refuse to save, offering to save a useless copy in your Documents folder instead. Starting Notepad as administrator avoids the frustration entirely.
You can use any plain-text editor (Notepad++, VS Code) the same way — just launch it elevated. Do not use Word or WordPad; they inject formatting that corrupts the file.
Step 2: Open the Hosts File
In your elevated Notepad, go to File > Open and navigate to:
C:\Windows\System32\drivers\etc\
The folder will look empty at first — that is because the Open dialog filters for .txt files and the hosts file has no extension. Change the file-type dropdown (bottom-right of the dialog) from “Text Documents (*.txt)” to “All Files (*.*)”, and the hosts file appears. Select it and click Open.
You will see a file full of comment lines starting with #, plus typically one active line mapping 127.0.0.1 to localhost. Before touching anything, make a backup: File > Save As, and save a copy as hosts.backup in the same folder. If anything ever goes wrong, restoring is as simple as copying the backup over the modified file.
Step 3: Add Your Block Entries
Scroll to the bottom of the file, below all the comment lines, and add one line per domain in this exact format:
127.0.0.1 example.com
127.0.0.1 www.example.com
Each line has three parts: the loopback IP 127.0.0.1, at least one space or tab, and the domain name. Replace example.com with the site you want to block. Block both the bare domain and the www variant — they are technically different hostnames, and blocking only one leaves the other reachable. For social media sites, also consider mobile subdomains (like m.example.com) if you want thorough coverage.
A practical example blocklist for focus might look like:
127.0.0.1 facebook.com
127.0.0.1 www.facebook.com
127.0.0.1 twitter.com
127.0.0.1 www.twitter.com
Keep entries organized with comment lines (starting with #) labeling each group — future you will appreciate it when editing the list months later. There is no practical limit to the number of entries; lists of thousands of domains work fine, though extremely long files can marginally slow name resolution.
For a deeper dive into verifying that suspicious sites are what they claim before blocking them, see our guide on how to check if a link is safe before clicking.
Step 4: Save and Flush the DNS Cache
Press Ctrl + S to save. Because Notepad is elevated, the save succeeds silently — no error means it worked. Now Windows needs to forget any cached DNS answers for the blocked domains; otherwise the old (working) address lingers in cache and the block appears not to work.
Open Command Prompt or Terminal (Win + X > Terminal) and run:
ipconfig /flushdns
You should see “Successfully flushed the DNS Resolver Cache.” For completeness, also close and reopen your browser — browsers keep their own DNS caches and open connections, so a tab already sitting on the blocked site may keep working until the browser restarts. Chrome users can also flush the browser’s internal cache at chrome://net-internals/#dns with the “Clear host cache” button.
Step 5: Test the Block
Open a browser and try visiting the blocked domain. You should see a connection error — “This site can’t be reached,” “Hmm, we can’t reach this page,” or similar — rather than the site loading. Test in a second browser too, to confirm the block is system-wide and not a quirk of one browser’s cache.
Test both the bare domain and the www version separately. If one loads and the other does not, you missed an entry — add the missing variant and flush DNS again. Also test from an app if relevant (for example, a desktop chat client for a blocked service); hosts-file blocks apply to all applications, which is their main advantage over browser extensions.
If you are setting this up for a child’s PC alongside other safeguards, pair it with our guide to silencing unknown callers on iPhone for a broader family-safety setup.
How to Undo a Block
Reversing a block is as easy as creating it. Open the hosts file again in an elevated Notepad, delete the lines for the domain (or comment them out by adding # at the start of each line — commenting preserves the list for later reuse), save, and flush DNS once more. The site becomes reachable immediately.
The comment-out approach is handy for temporary focus blocks: keep a labeled section like # FOCUS BLOCK - uncomment to activate and toggle sites on and off by adding or removing the #. Some people maintain two hosts files — hosts.work and hosts.relaxed — and swap them by renaming, though that requires remembering to flush DNS after each swap.
If you ever want to wipe the slate entirely, restore your hosts.backup copy: delete the modified hosts file, rename the backup to hosts, flush DNS, and you are back to factory state.
Limitations You Should Know
The hosts file is powerful but not magic. Understand its boundaries before relying on it:
DNS-over-HTTPS can bypass it
Modern browsers (Chrome, Edge, Firefox) can encrypt DNS queries with DNS-over-HTTPS (DoH), and in some configurations the browser resolves names without consulting the system hosts file. If a blocked site still loads in one browser, check that browser’s secure-DNS setting and either disable DoH or set it to use the OS resolver. This is the most common “the block doesn’t work” mystery.
It blocks domains, not content
You block entire domains — you cannot block a single page, a search term, or a category of content. Blocking youtube.com blocks all of YouTube, including the educational video you wanted. For granular filtering, pair the hosts file with a DNS filtering service or parental-control software.
Tech-savvy users can undo it
Anyone with administrator access can edit the hosts file back. For parental controls on a child’s PC, this method works best combined with a separate standard (non-admin) user account for the child — standard users cannot edit the hosts file. Determined teenagers with admin rights will defeat any software control eventually; the hosts file is a speed bump, not a vault.
IP-address access bypasses it
The hosts file only intercepts name lookups. If someone navigates directly to a site’s IP address, the block does not apply. In practice this rarely matters for casual browsing, but it is worth knowing.
Some security software guards the file
Antivirus programs sometimes flag hosts-file modifications as suspicious (malware does abuse this file). If your antivirus alerts or reverts your changes, add an exclusion for the hosts file or temporarily disable real-time protection while editing — then re-enable it. This is normal and not a sign of a problem with the method.
Frequently Asked Questions
Where is the hosts file in Windows 11?
At C:\Windows\System32\drivers\etc\hosts. It has no file extension. You need to open it with a text editor running as administrator, and set the Open dialog to “All Files” to see it.
Why is my blocked site still loading?
The usual suspects in order: you forgot to flush DNS (run ipconfig /flushdns), the browser has its own DNS cache (restart the browser or clear it at chrome://net-internals/#dns), DNS-over-HTTPS is bypassing the system resolver (check the browser’s secure DNS setting), or you blocked example.com but the site loaded www.example.com (block both variants).
Can I block websites on someone else’s user account only?
The hosts file is system-wide — it affects all users on the PC. There is no per-user hosts file. For per-user restrictions, use browser profiles with extensions, Windows Family Safety, or a DNS filtering service that supports profiles.
Is editing the hosts file safe?
Yes, if you follow the steps: back up first, edit only by adding lines at the bottom, and never delete the existing localhost entries. The file is plain text and every change is reversible. Millions of developers and admins edit it routinely.
How many websites can I block?
Thousands. Each entry is one line, and Windows handles large hosts files fine — community-maintained blocklists with tens of thousands of entries are common. Very large files can add a tiny delay to name lookups, but for personal blocklists of dozens or hundreds of sites the impact is unnoticeable.
Does this work on Windows 10 too?
Yes — the hosts file location, format, and procedure are identical on Windows 10 and Windows 11. The steps in this guide apply to both.
Knowing how to block websites using hosts file windows 11 puts a system-wide, software-free blocking tool in your hands. The whole process — elevated Notepad, a few lines at the bottom of the file, a DNS flush — takes five minutes and works across every browser and app on the PC. Respect its limits (watch out for DNS-over-HTTPS, and remember it is a speed bump rather than a vault for determined users), keep your backup current, and you have a free focus and safety tool that never expires, never phones home, and never needs updating.