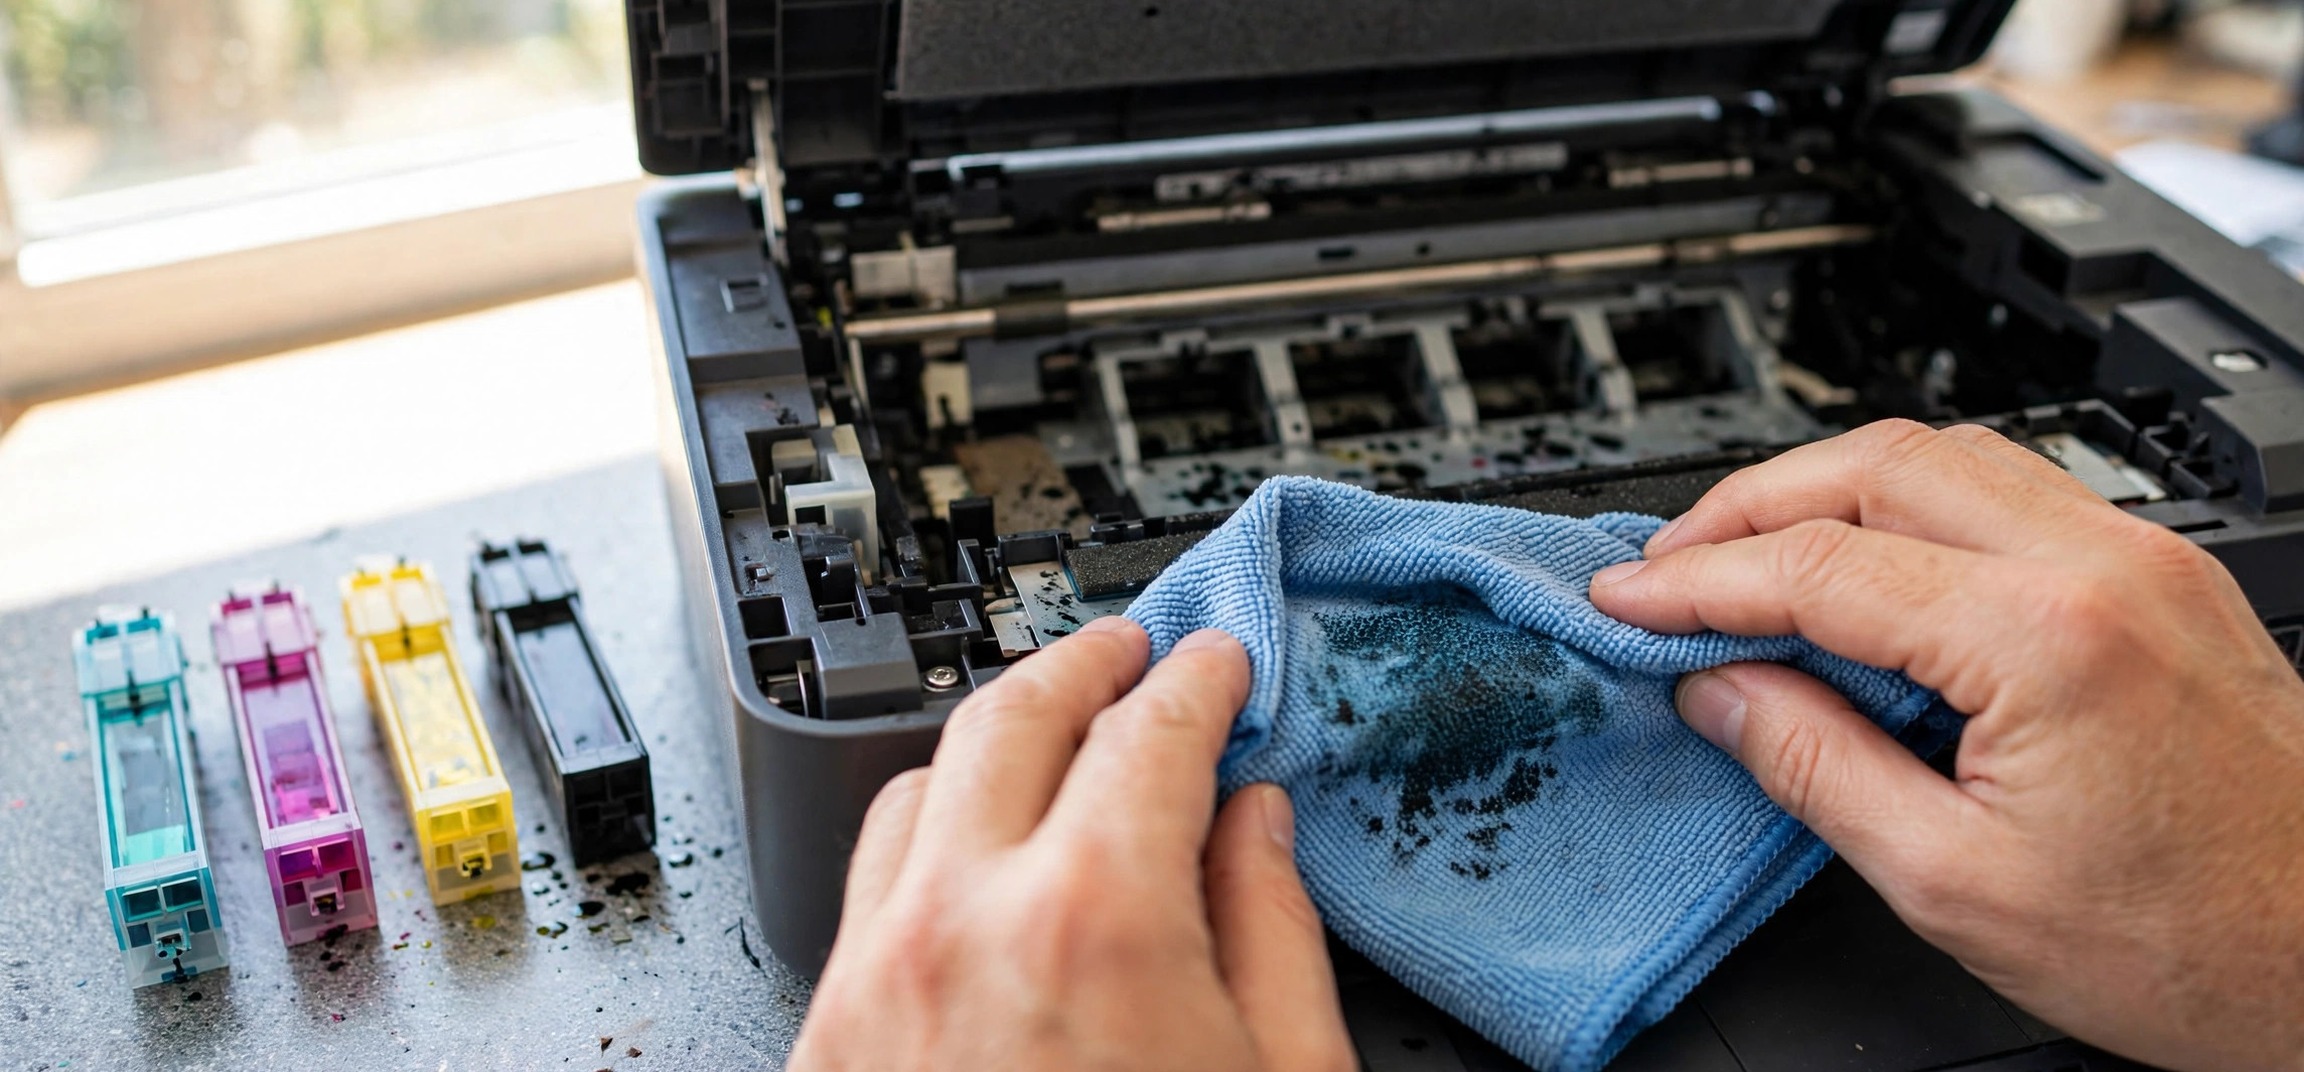
Knowing how to clean printer heads without a computer is a genuinely useful skill, because clogged printheads rarely announce themselves at a convenient moment. Maybe your laptop died, maybe the printer is at a relative’s house, or maybe the driver software just refuses to cooperate. Whatever the reason, you do not need a PC to bring a clogged printer back to life. This guide covers six methods, from the built-in cleaning cycles you run on the printer’s own buttons to a hands-on manual soak for the stubborn clogs that software cannot reach.
Table of Contents
- Why Printer Heads Clog in the First Place
- Step 1: Run the Built-In Cleaning From the Printer Panel
- Step 2: Print a Nozzle Check From the Printer Itself
- Step 3: Run a Deep Clean or Power Flush
- Step 4: Reseat Cartridges and Check Vents
- Step 5: The Manual Printhead Soak
- Step 6: Warm-Water Flush for Removable Printheads
- Keeping the Heads Clean Going Forward
- Frequently Asked Questions
Why Printer Heads Clog in the First Place
Inkjet printers spray ink through nozzles finer than a human hair. When the printer sits unused, ink dries inside those nozzles and forms a plug. Black clogs first because it is used most, but any color can block up after a few idle weeks — faster in hot, dry rooms. This is also why the problem often appears after a holiday or a long break from printing.
Symptoms of a clogged printhead include faded prints, horizontal white lines across the page (banding), missing colors, or pages that come out completely blank despite full ink. If your printer’s black channel has gone missing specifically, the diagnostic steps in our Epson black-ink fix guide pair well with the manual methods below. For pages that print blank across all colors, see how to fix blank pages with ink in the printer.
Step 1: Run the Built-In Cleaning From the Printer Panel
Almost every inkjet printer made in the last fifteen years can run a head-cleaning cycle using only its own buttons or touchscreen — no computer required. This is always the first thing to try because it is safe, automatic, and designed by the manufacturer for exactly this problem.
On printers with a touchscreen, open Settings (or the gear/wrench icon), look for Maintenance, and choose Head Cleaning, Print Head Cleaning, or Clean Printheads. On button-only models, there is often a dedicated maintenance button — check for an icon that looks like a droplet or a printer with lines under it. Some HP models run cleaning by holding the Power button and pressing Cancel twice; Canon models often use a combination of the Stop and Power buttons. If you are unsure, search your exact model number plus “clean printhead from panel” on the manufacturer’s support pages — but the option is nearly always in a Maintenance menu.
The cycle takes one to three minutes and makes some mechanical noise; that is normal. It uses a small amount of ink from each color, so do not run it endlessly — two or three cycles with test prints between them is the sensible limit for one session.
Step 2: Print a Nozzle Check From the Printer Itself
A nozzle check pattern is the diagnostic page that shows which ink channels are flowing and which are blocked. Printers can produce this page on their own, and you should print one before and after every cleaning attempt so you can see whether you are making progress.
In the same Maintenance menu where you found the cleaning option, look for Nozzle Check, Print Quality Check, or Test Print. The page shows grids or lines of each color. Missing segments mean clogged nozzles in that color. Keep the first printout and compare each new one against it — steady improvement means the cleaning is working and you should continue; zero change after several cycles means you need the manual methods further down.
Tip: print the nozzle check on plain paper, not photo paper. The pattern is designed to be read on plain stock, and you will be printing several of them.
Step 3: Run a Deep Clean or Power Flush
If two or three standard cleaning cycles barely move the needle, look in the Maintenance menu for a stronger option. Epson calls it Power Cleaning; Canon calls it Deep Cleaning; HP and Brother have similar “deep clean” or “flush” routines. This pushes much more ink through the nozzles and can dissolve clogs that standard cleaning cannot.
Check your ink levels before starting — deep cleaning consumes noticeably more ink, and running a printhead dry can damage it. Let the printer finish uninterrupted, then wait. Many manufacturers recommend waiting several hours (some say up to 12) before judging the result, because loosened residue needs time to flush through. Print a fresh nozzle check after the wait and compare.
Use deep cleaning sparingly: once or twice per clogging episode is the norm. It is a heavy-duty tool, not maintenance.
Step 4: Reseat Cartridges and Check Vents
Sometimes the “clog” is not a clog at all. Open the printer’s cartridge bay and remove each cartridge. Check that any protective tape, pull tabs, or vent stickers were fully removed when the cartridge was installed — a sealed air vent stops ink from flowing and mimics a clogged head perfectly.
Wipe the cartridge’s contact chip gently with a dry lint-free cloth, then push the cartridge back in until it clicks firmly. On printers where the printhead is built into the cartridge (many HP and some Canon models), a cartridge that is not seated correctly simply will not print. If you have a spare or old cartridge, swapping it in is a quick way to test whether the cartridge or the printer’s head is at fault.
While the bay is open, look at the carriage area for dried ink blobs or paper dust and wipe them away carefully. And if the printer insists on a jam that is not there, the sensor tips in our phantom paper jam guide are worth a read during the same maintenance session.
Step 5: The Manual Printhead Soak
When software cleaning fails, you can clean the printhead by hand. This works on printers where the printhead is a fixed part of the printer (most Epson and Canon models) rather than built into the cartridge.
Here is the safe procedure. With the printer powered on, start a cartridge replacement so the printhead carriage slides to the center — then unplug the power cord from the wall so the carriage stays parked in the middle. Fold a lint-free cloth or a few layers of paper towel into a pad, dampen it with distilled water (not tap water, which leaves mineral deposits), and slide it under the printhead where the nozzles sit. Let the printhead rest on the damp pad for two to four hours, re-dampening if it dries out. The moisture softens dried ink from below.
After the soak, remove the pad, plug the printer back in, and run one standard cleaning cycle from the panel to flush the loosened ink. Print a nozzle check. This method resolves a large share of clogs that survive automatic cleaning. Never poke at the nozzle plate with pins, toothpicks, or cotton swabs — the nozzles are fragile and scratches are permanent.
Step 6: Warm-Water Flush for Removable Printheads
Some printers — certain Canon models especially — have a printhead unit that lifts out of the carriage entirely. If yours does, you can give it a more thorough cleaning than the in-place soak allows.
Remove the cartridges first, then release the printhead according to your manual (usually a small lever or latch). Run warm — not hot — distilled water gently over the nozzle plate, the side with the tiny holes, until the water runs clear. Do not scrub; let the water do the work. Shake off excess water gently and let the printhead air-dry completely — at least several hours, ideally overnight — before reinstalling it. Installing a damp printhead risks shorting the electronics.
Reinstall the head, run one cleaning cycle, and print a nozzle check. If the pattern is clean, you are done. If a color channel is still completely missing after all six steps, the head may have failed electrically, and replacement or professional service is the next step.
Keeping the Heads Clean Going Forward
The best cleaning is the cleaning you never need. Print at least one page — even a simple nozzle check pattern — every week or two; regular use is the single best clog prevention. When you will not print for a month or more, leave the printer powered on (sleep mode is fine) rather than unplugging it, because printers run tiny maintenance cycles on their own schedule. Keep the printer out of hot, dry spots, and always power it off with its own power button so the printhead parks and seals correctly instead of drying out mid-carriage.
If you refill cartridges or use third-party ink, be aware that inconsistent ink formulations can clog faster than manufacturer ink. None of this requires a computer either — it is just good printer hygiene that keeps the nozzles flowing between the rare times you need the steps above.
Frequently Asked Questions
Can I clean my printer heads without a computer?
Yes. Nearly all inkjet printers can run head-cleaning cycles, deep cleaning, and nozzle check prints from their own control panel or button combinations — no computer needed. For clogs that survive the automatic cycles, you can also do a manual soak with distilled water using only your hands. The computer only matters for driver-level settings, which are rarely the cause of a physical clog.
How do I start a head cleaning using only the printer buttons?
On touchscreen models, go to Settings, then Maintenance, then Head Cleaning or Clean Printheads. On button-only models, look for a maintenance or droplet icon button, or a documented button combination in your manual (for example, holding one button while pressing another). The cycle runs automatically for one to three minutes. Print a nozzle check from the same menu afterward to verify the result.
Is it safe to clean a printhead manually?
Yes, if you follow the gentle approach: distilled water only, no scrubbing, no sharp tools, and complete drying before reinstalling a removed head. The dangerous moves are poking the nozzles, using tap water or solvents, and powering the printer with wet electronics. Done carefully, a manual soak is a standard maintenance technique that printer technicians use too.
How many cleaning cycles can I run in a row?
Two to three standard cycles with nozzle checks between them is the sensible limit per session. If there is no improvement, move up to one deep clean or power flush rather than repeating standard cycles, which mostly waste ink at that point. After a deep clean, wait several hours before evaluating, since loosened residue needs time to flush.
Why do my printer heads keep clogging?
The usual cause is long idle periods — ink dries in the nozzles when the printer sits unused for weeks. Hot, dry rooms accelerate it, and unplugging the printer (instead of using its power button) can leave the head unparked and exposed to air. Printing a page every week or two and leaving the printer in sleep mode prevents most recurring clogs.
Can I use tap water to clean a printhead?
It is not recommended. Tap water contains minerals that can leave deposits in the tiny nozzles and cause new blockages. Distilled water is cheap, widely available at pharmacies and supermarkets, and leaves nothing behind when it dries. For the same reason, avoid alcohol and household cleaners on the nozzle plate.
Cleaning printer heads without a computer is entirely doable — the printer’s own maintenance menu handles the automatic work, and a patient distilled-water soak handles the rest. Work through the six steps in order, check your progress with nozzle check prints, and your printer will usually be back to crisp pages the same day.


